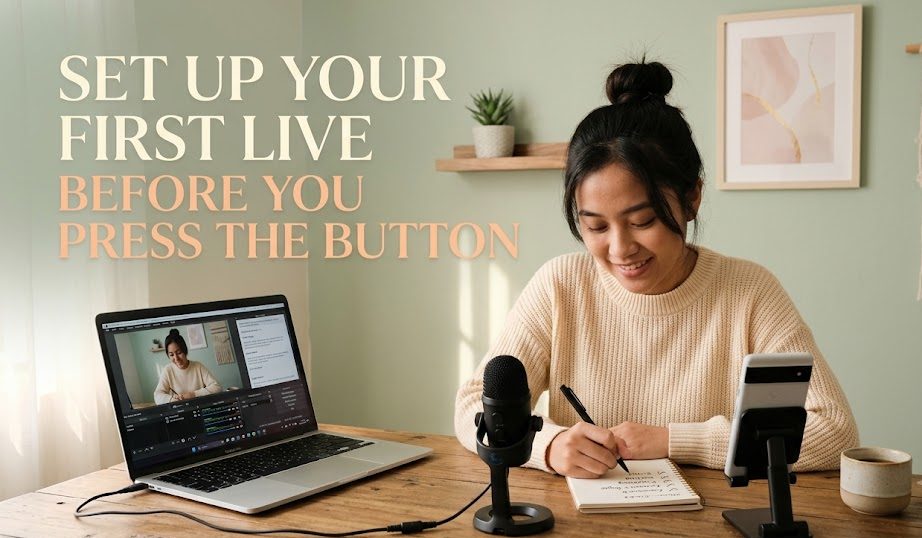
Going live for the first time can feel strange. The button is small, but somehow it carries the weight of a stage curtain. Once it is pressed, the camera opens, the silence becomes louder, and even a simple greeting can suddenly feel harder than it should.
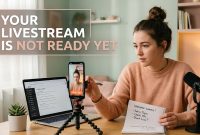
That is why setup matters. A good setup does not mean a luxury studio, expensive lighting, or a perfect background. For beginners, a good setup simply means the live session is clear enough, stable enough, and organized enough so the host can focus on speaking instead of panicking.
If you want to go live for the first time, the goal is not to look like a professional broadcaster. The goal is to avoid looking unprepared. A simple setup can protect you from the most common beginner problems: bad audio, messy background, weak internet, poor lighting, awkward camera angle, and confusion in the first few minutes.
The First Live Setup Is Not About Perfection
Before arranging your camera or checking your microphone, it helps to adjust the expectation. Your first live session does not need to look expensive. It only needs to feel watchable, understandable, and intentional.
A Clean Start Beats A Complicated Setup
Many beginners delay their first live session because they think they need a complete studio. They imagine ring lights, cameras, microphones, overlays, a perfect desk, and a background that looks like a polished creator room.
In reality, a clean and simple setup is often better than a complicated one. Too many tools can create new problems. A beginner may spend more time adjusting the equipment than preparing the actual message.
For a first live session, focus on the basics:
- clear sound
- stable internet
- enough light
- clean background
- steady camera
- simple topic
- prepared opening
These basics are not glamorous, but they work. They are the quiet foundation under the whole session.
Your Setup Should Support Your Message
A livestream setup is not decoration. It should help your audience listen, watch, and understand what you are saying.
If you are teaching something, your setup should make your explanation easy to follow. If you are selling a product, the item should be visible. If you are sharing thoughts or answering questions, your face and voice should be clear.
A setup that supports the message will always feel stronger than a setup that only tries to look fancy.
7 Setup Steps Before You Press The Live Button
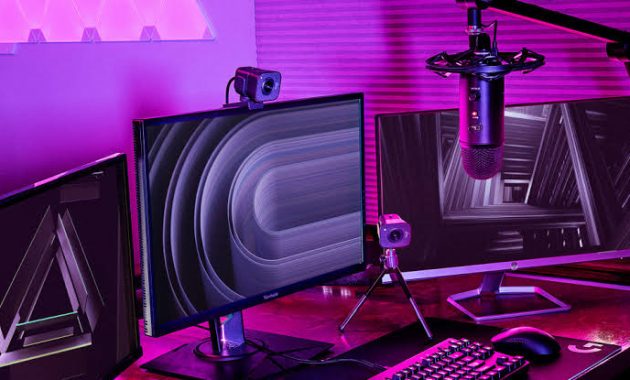
The easiest way to prepare is to follow a short setup flow. Do not start with the hardest part. Start from the things that usually cause the biggest distractions.
1. Choose One Clear Purpose For The Session
Before touching any equipment, decide what the live session is for. This sounds simple, but many first-time hosts skip it.
Your purpose can be:
- introducing yourself
- explaining one topic
- answering common questions
- showing a product
- teaching a short lesson
- sharing an update
- practicing live communication
A clear purpose helps you decide what to prepare. If the purpose is a product demo, you need the product nearby. If the purpose is a short lesson, you need notes. If the purpose is Q&A, you need a list of possible questions.
Without a clear purpose, the session can start drifting. Viewers may not know why they should stay, and the host may not know what to say next.
2. Pick A Quiet And Controlled Space
Your room does not need to be beautiful. It needs to be controlled.
Choose a place where you can reduce sudden noise, background movement, and visual clutter. A simple wall, a tidy corner, or a clean desk can work well.
Check these things before going live:
- Is there noise from outside?
- Can people walk behind you?
- Is the background too messy?
- Is there private information visible?
- Are mirrors, windows, or screens showing something unintended?
A controlled space helps you feel calmer. It also helps viewers focus on you instead of wondering what is happening behind you.
3. Place The Camera At Eye Level
Camera angle can change how a beginner appears on screen. A camera placed too low can feel awkward. A camera placed too high can feel distant. Eye level usually feels more natural.
You do not need an expensive tripod. You can use a phone stand, a stack of books, or a stable desk mount. The important thing is that the camera does not shake.
Try this simple framing:
| Camera Setup | Better Choice |
|---|---|
| Camera too low | Raise it closer to eye level |
| Face too close | Leave some space around your head and shoulders |
| Background too busy | Move to a cleaner angle |
| Device shaking | Use a stable stand or support |
| Looking at screen only | Look at the camera during key points |
When the camera feels stable, the session feels more intentional.
4. Test Your Audio Before Anything Else
If viewers cannot hear you clearly, the session becomes difficult to follow. Audio is often more important than video.
Before going live, record a short test. Say a few sentences and listen again. Do not only check whether your voice exists. Check whether it is clear.
Pay attention to:
- echo
- background noise
- low volume
- harsh sound
- microphone distance
- music that is too loud
If you do not have an external microphone, stay closer to your phone or laptop. Turn off fans if they are too noisy. Close windows if outside sound enters the room.
Good audio is like a clean road. The message can travel without stumbling.
5. Use Light That Makes Your Face Easy To See
Lighting does not need to be dramatic. The main goal is simple: viewers should see your face or subject clearly.
Natural light from a window can work well if it comes from the front or slightly from the side. Avoid sitting with a bright window behind you because your face may become dark.
If you use a lamp, place it in front of you, not behind you. Soft light is usually better than harsh light.
A quick lighting check:
- Is your face visible?
- Are there strong shadows?
- Is the background brighter than you?
- Does the light make the image too yellow or too dark?
- Can viewers clearly see the object you are showing?
Lighting should help the viewer, not steal attention.
6. Prepare Your Notes Outside The Screen
First-time hosts often think they must memorize everything. That pressure can make them nervous. Instead, prepare short notes.
Do not write a full script unless you need it. A simple outline is usually enough.
Example:
- greeting
- topic introduction
- three main points
- short example
- viewer question
- closing sentence
Keep the notes near the camera or on paper beside your device. If you read too much from the screen, your eyes may look distracted. Short notes help you stay natural while still having direction.
Your notes are not a cage. They are a handrail.
7. Do A Private Test Before The Real Session
A private test can save your first live session from small disasters. You can record yourself for two or three minutes and check the result.
During the test, review:
- camera angle
- audio clarity
- lighting
- internet stability
- background
- opening line
- body position
- screen sharing if needed
This test may feel boring, but it is useful. Many problems become obvious only when you see yourself on screen.
If something feels wrong, fix only the important things. Do not fall into endless adjustment. The goal is readiness, not perfection.
A Simple Setup Checklist For Beginner Creators
A checklist helps beginners avoid forgetting basic things. Use it before every live session, especially for the first few attempts.
Before The Session Starts
Use this quick checklist 30 minutes before going live:
- topic is clear
- room is quiet
- camera is steady
- audio is tested
- light is enough
- internet is checked
- battery or charger is ready
- notes are nearby
- background is clean
- platform title is correct
This list may look small, but it covers most beginner problems. The more often you use it, the faster setup becomes.
Five Minutes Before Going Live
Five minutes before the session, stop changing too many things. This is the time to breathe, check the main tools, and prepare your first sentence.
A good first sentence can be simple:
“Hi everyone, today I’ll share three quick tips for preparing your first live session.”
That line gives direction immediately. It tells viewers what the session is about and helps you begin without wandering.
What Beginners Should Not Worry About Too Early
Some things can wait. Beginners often waste energy on details that do not matter much in the first live session.
You Do Not Need Advanced Overlays
Overlays, animated frames, and screen graphics can look nice, but they are not required for a first live. If the message is unclear, graphics will not save it.
Focus on sound, light, and topic flow first.
You Do Not Need Expensive Equipment
A phone, stable stand, quiet room, and clear notes can be enough to begin. Upgrade later when you know what problem you are actually trying to solve.
Buying gear too early can become another form of procrastination.
You Do Not Need A Perfect Audience
Your first live may have few viewers. That is normal. Treat it as practice. The early sessions help you build comfort, timing, and setup habits.
A small audience can be a softer place to learn.
Final Notes For A Better First Setup
Going live for the first time will probably still feel nervous, even after preparation. That is normal. Setup cannot remove every feeling, but it can reduce the chaos.
When the camera is steady, the audio is clear, the light is enough, and your notes are ready, your mind has more room to focus on the message. That is the real purpose of a beginner setup.
You do not need to look perfect. You only need to look prepared enough to begin. The first live session is not the final version of your creator journey. It is the first small doorway, and a clean setup helps you walk through it with less fear.
Seo Ji-an worked as a junior broadcast producer before moving into livestream production for beauty brands, independent creators, and online retailers.
During her seven years in digital production, she has handled studio preparation, lighting checks, audio testing, run sheets, and backup streaming systems.
She writes practical guides for beginners who want to prepare a reliable broadcast without turning a small room into an expensive television studio.

1 comment
Comments are closed.